Broadband
in a Box
Self-Installation Directions
Mounting your GigaSpire Router
Your GigaSpire U6.3 most likely has been mounted by a technician during installation. If not, and you’d like to mount it yourself, the device can be mounted on either the side or the bottom, depending on your space and preference.
- Use the included bracket as a template to mark the screw holes on your wall.
- Drill holes and insert wall anchors, if needed.
- Secure the mounting bracket to the wall using the provided screws.
- Align the back of the GigaSpire with the bracket and snap it into place. Note: Ensure cables are routed cleanly and not pinched or strained.
Helpful tips:
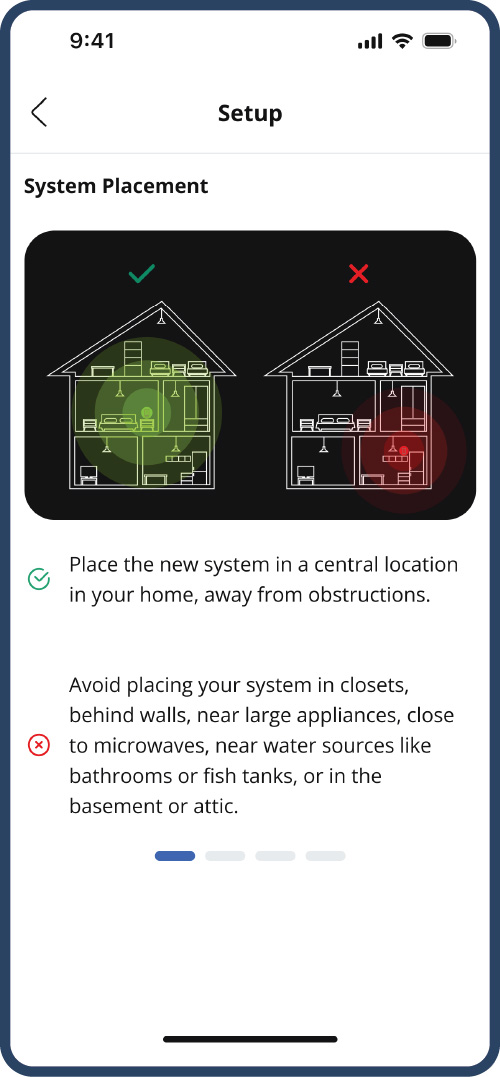
- Avoid placing the unit near large metal appliances such as a refrigerator, freezer, washer or dryer.
- Avoid placing it near devices that emit signals such as baby monitors, cordless phones, or microwaves.
1
Locate the modem that was installed by our technician during your pre-install.
Connect the power.
Wait 10 minutes.
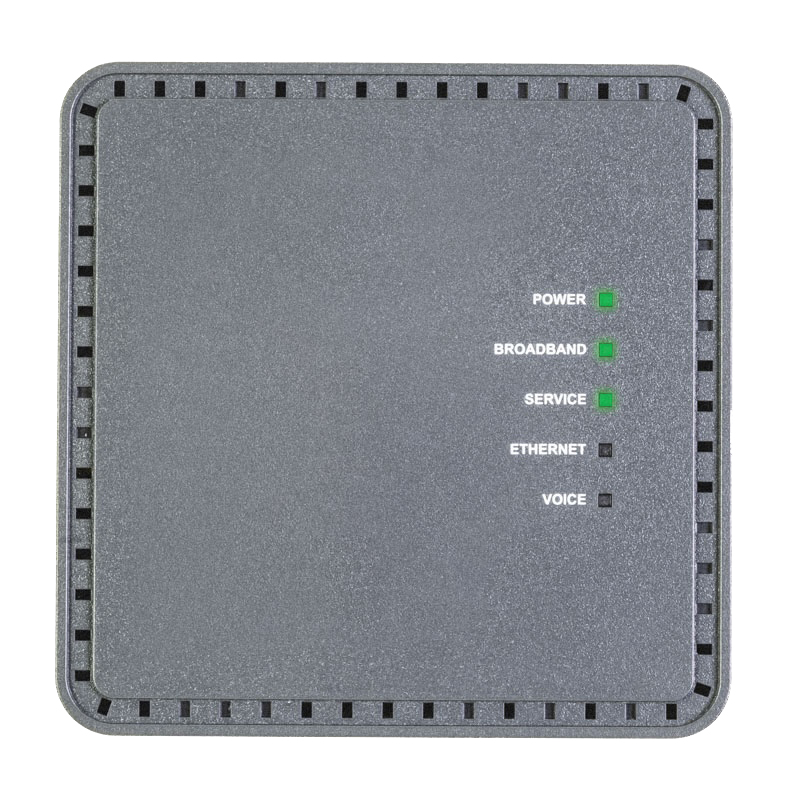

Before continuing, be sure that the Power, Broadband, and Service lights are all green.
2
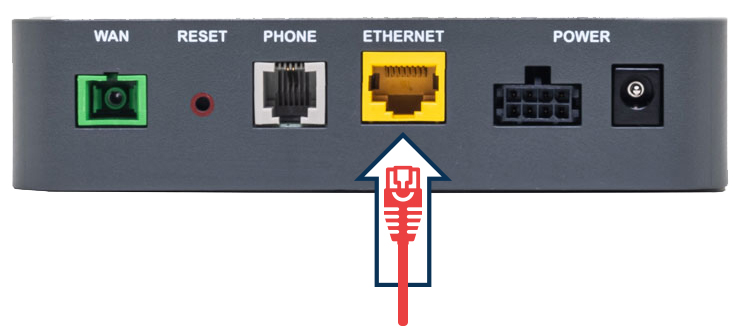
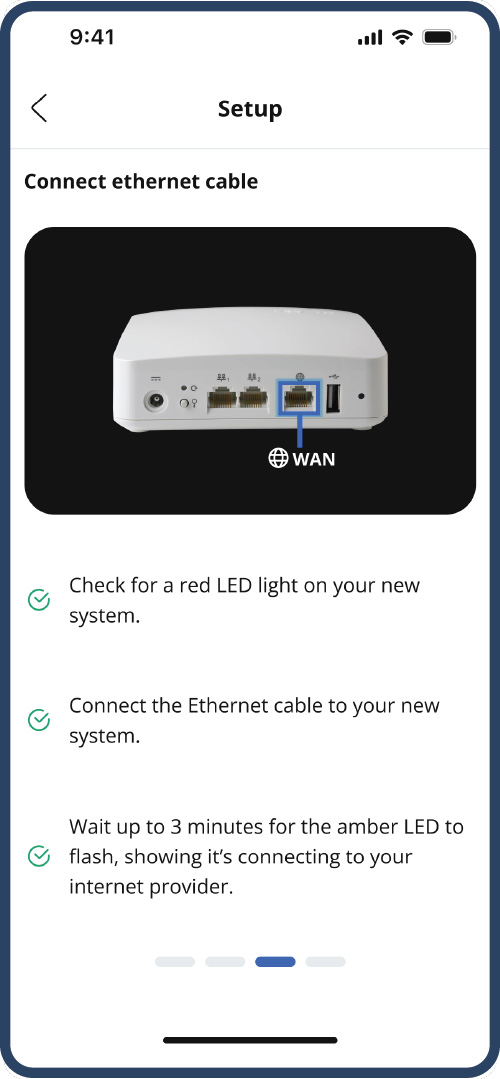
Plug the provided ethernet cable into the yellow ethernet port of the modem.
(If the technician installed an ethernet jack in another area of your home, connect to that instead.)
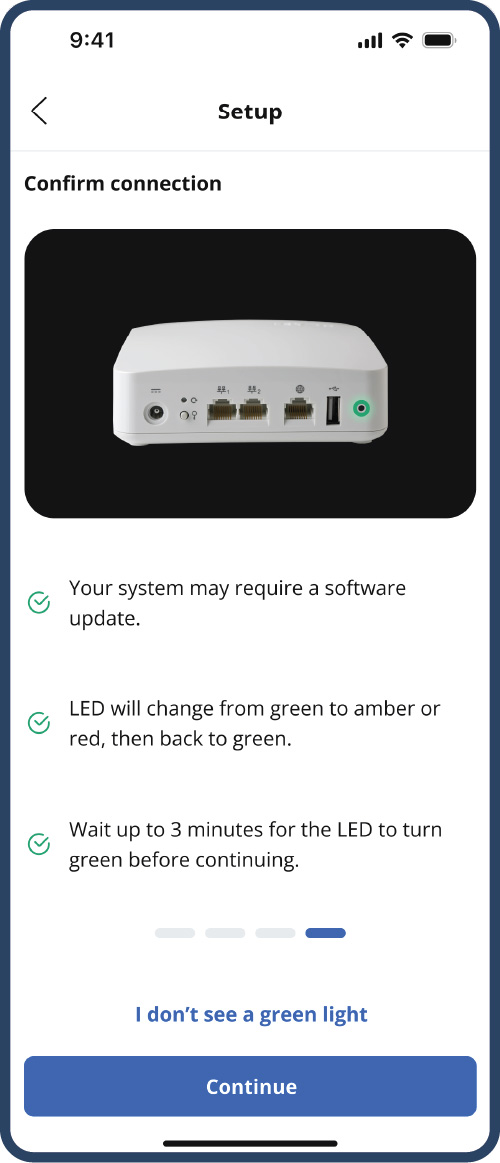
Plug the opposite end of the ethernet cable into the white GigaSpire router. The cable should go into the port labeled “2.5G” with the globe icon.
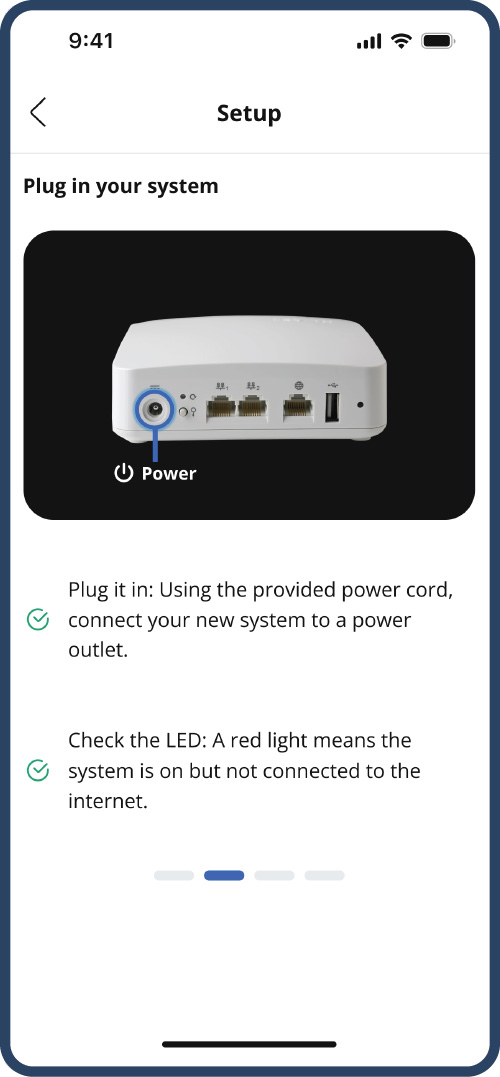
Connect the power.
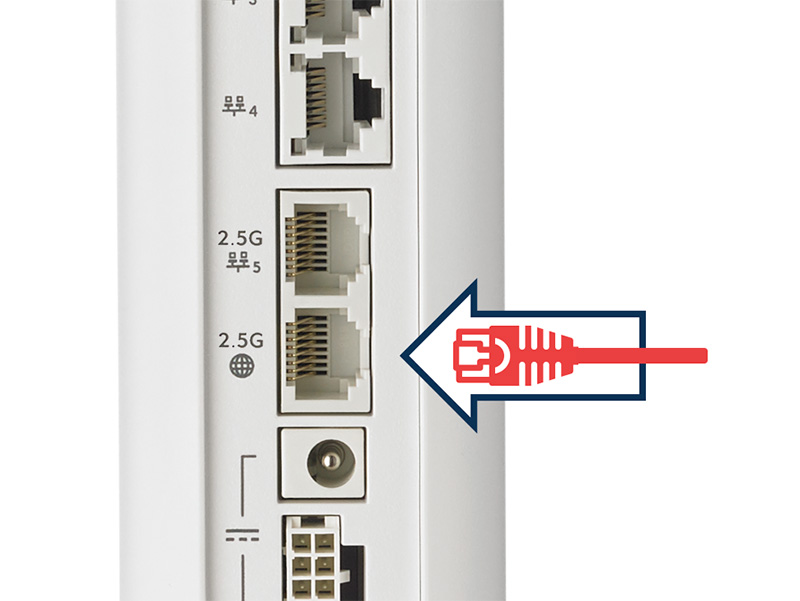

Wait 15 minutes for the system to boot-up and download required software updates.
3
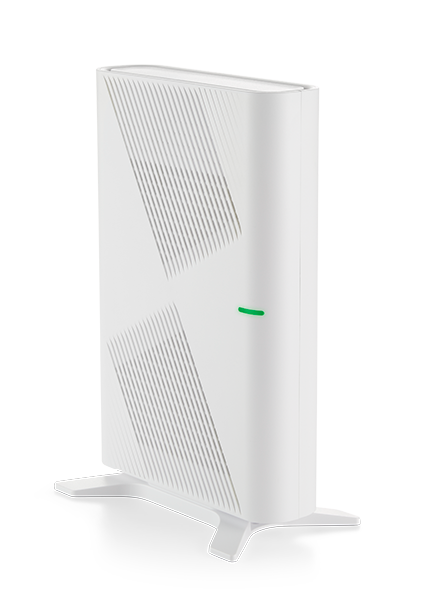
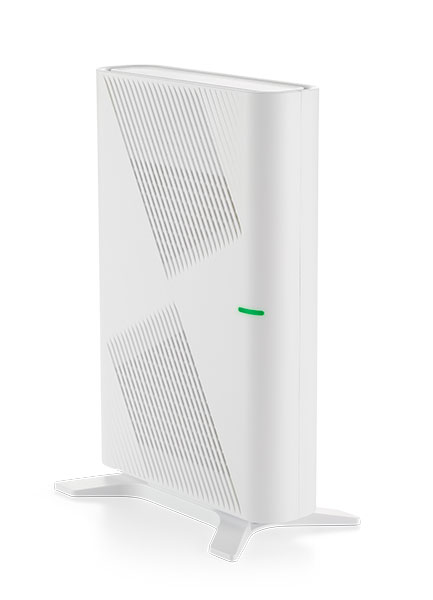
After 15 minutes, the light on the white GigaSpire router should be green.
(If it does not turn green after 15 minutes, contact our support team at 218-454-1234 or 1-800-753-9104.)
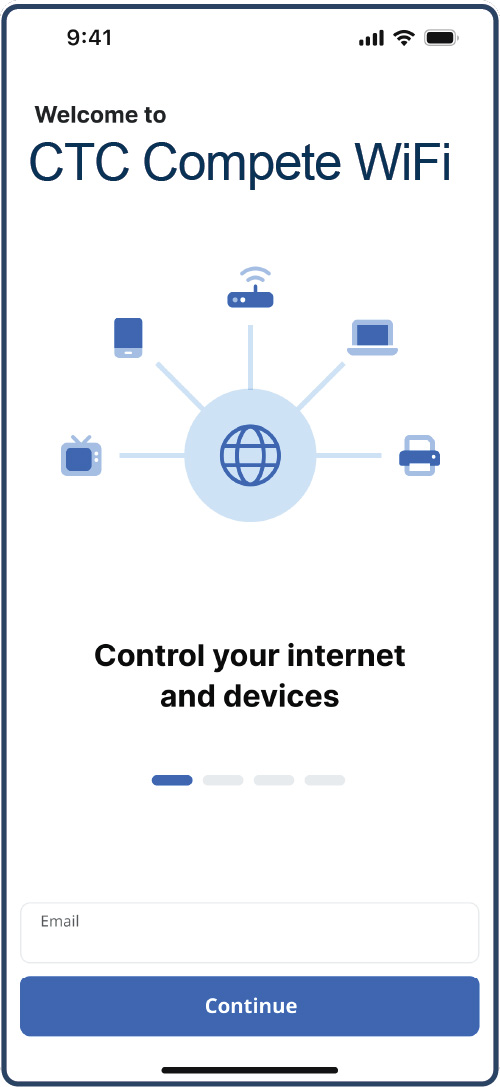
Get Started with the App
The app allows you to easily manage your home or small business WiFi network within minutes. Download the app and take control of your WiFi network today!
1
Download the CTC Complete WiFi app. You can search either the Apple App Store, or the Google Play Store for CTC Complete WiFi, then install it on your mobile device.
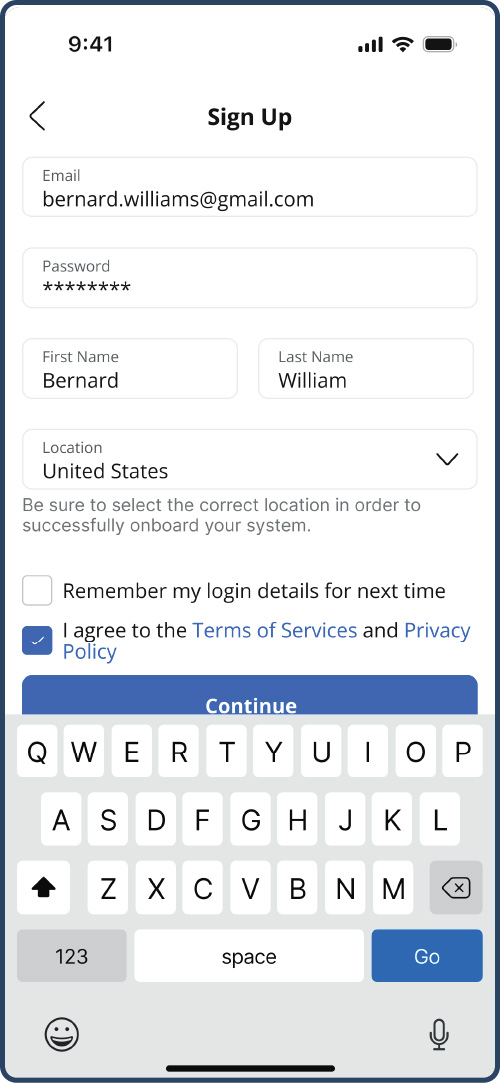
2
Select “Sign up” or “Log in” to set up your system and access WiFi controls and protection.
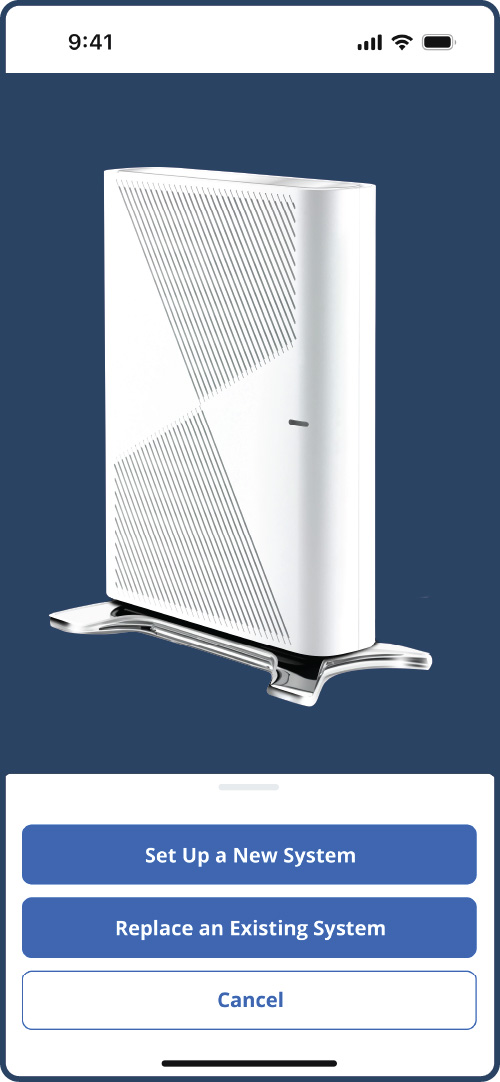
3
Select “Set Up a New System” or if you are upgrading an existing CTC router, select “Replace an Existing CTC System”.
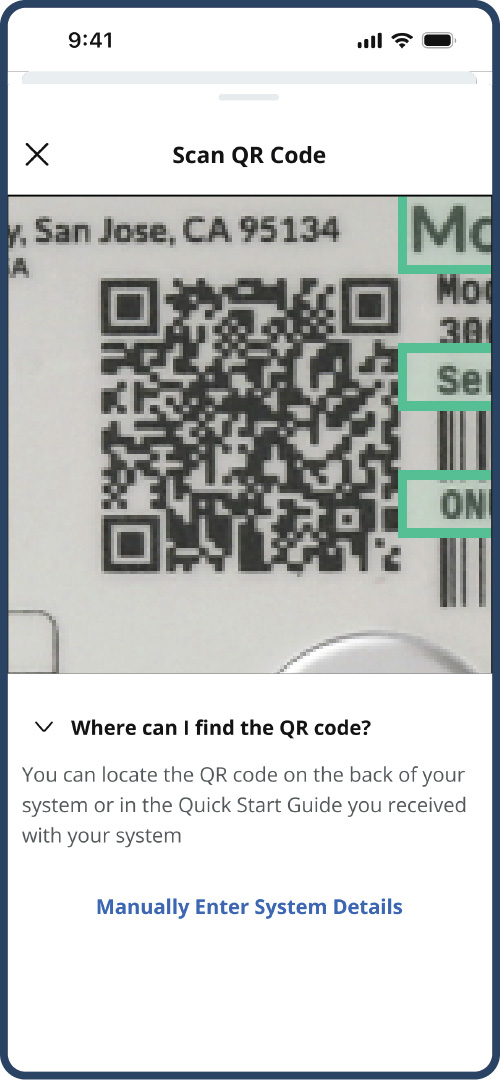
4
Scan the QR code on your system, or enter the system details manually.
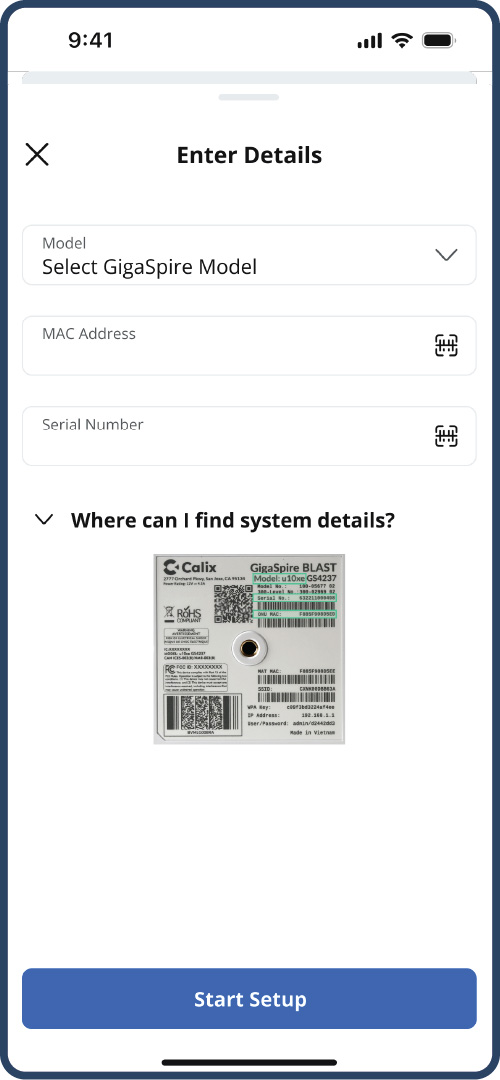

5
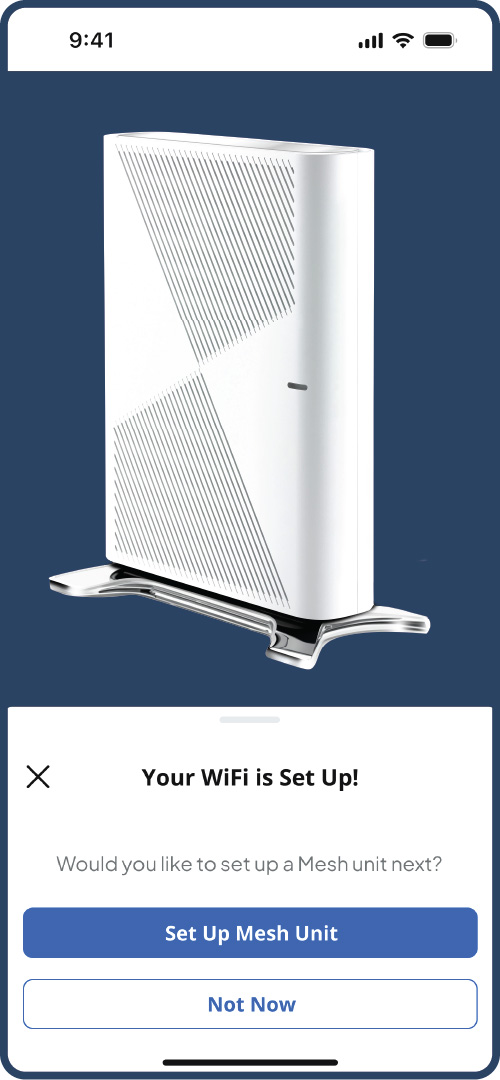
Follow the next steps for new system set up.
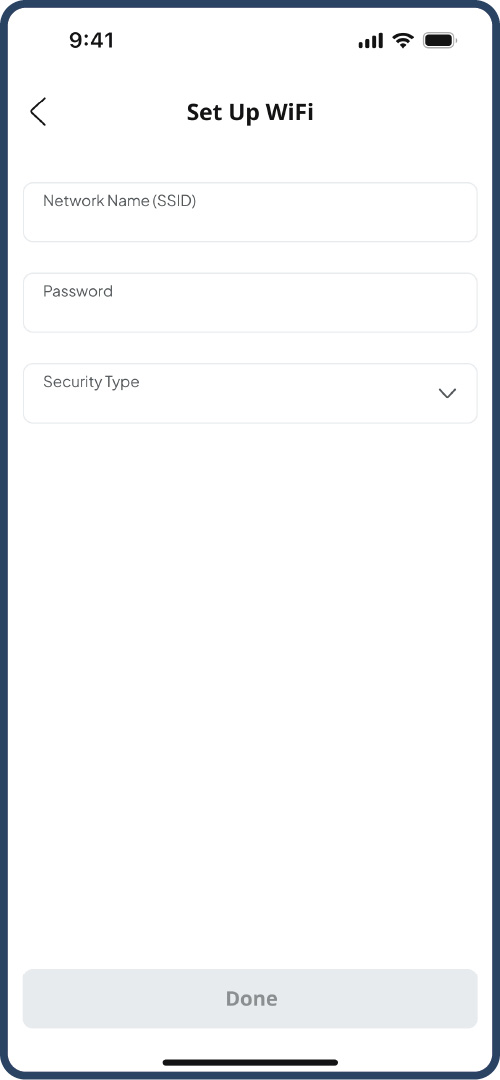
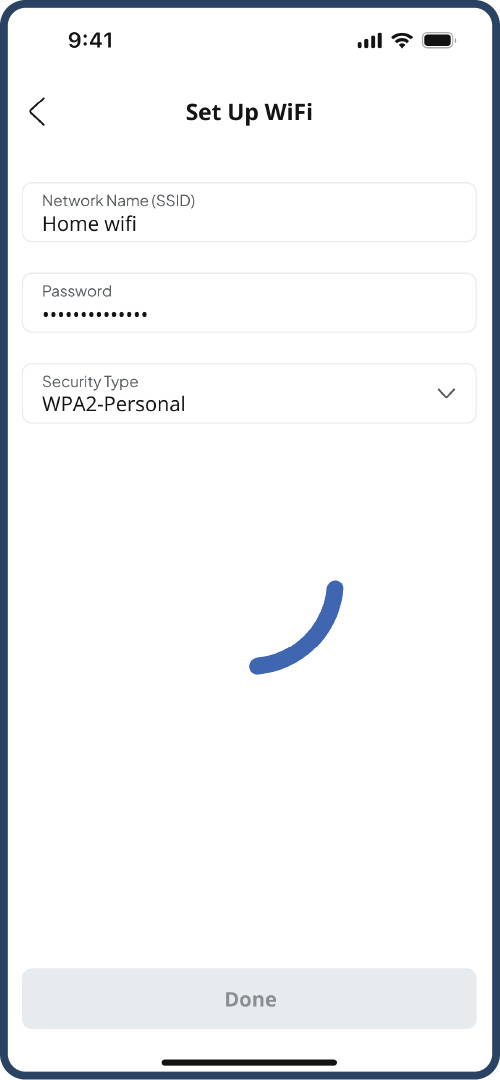
6
Now that your new system is set up, you can set up your WiFi network.